Customizing the interface
Field labels, record titles, calculated fields, table icons and which tables appear in the menu. (Note: these settings change how your data is presented, never the data itself.)
Global admin page
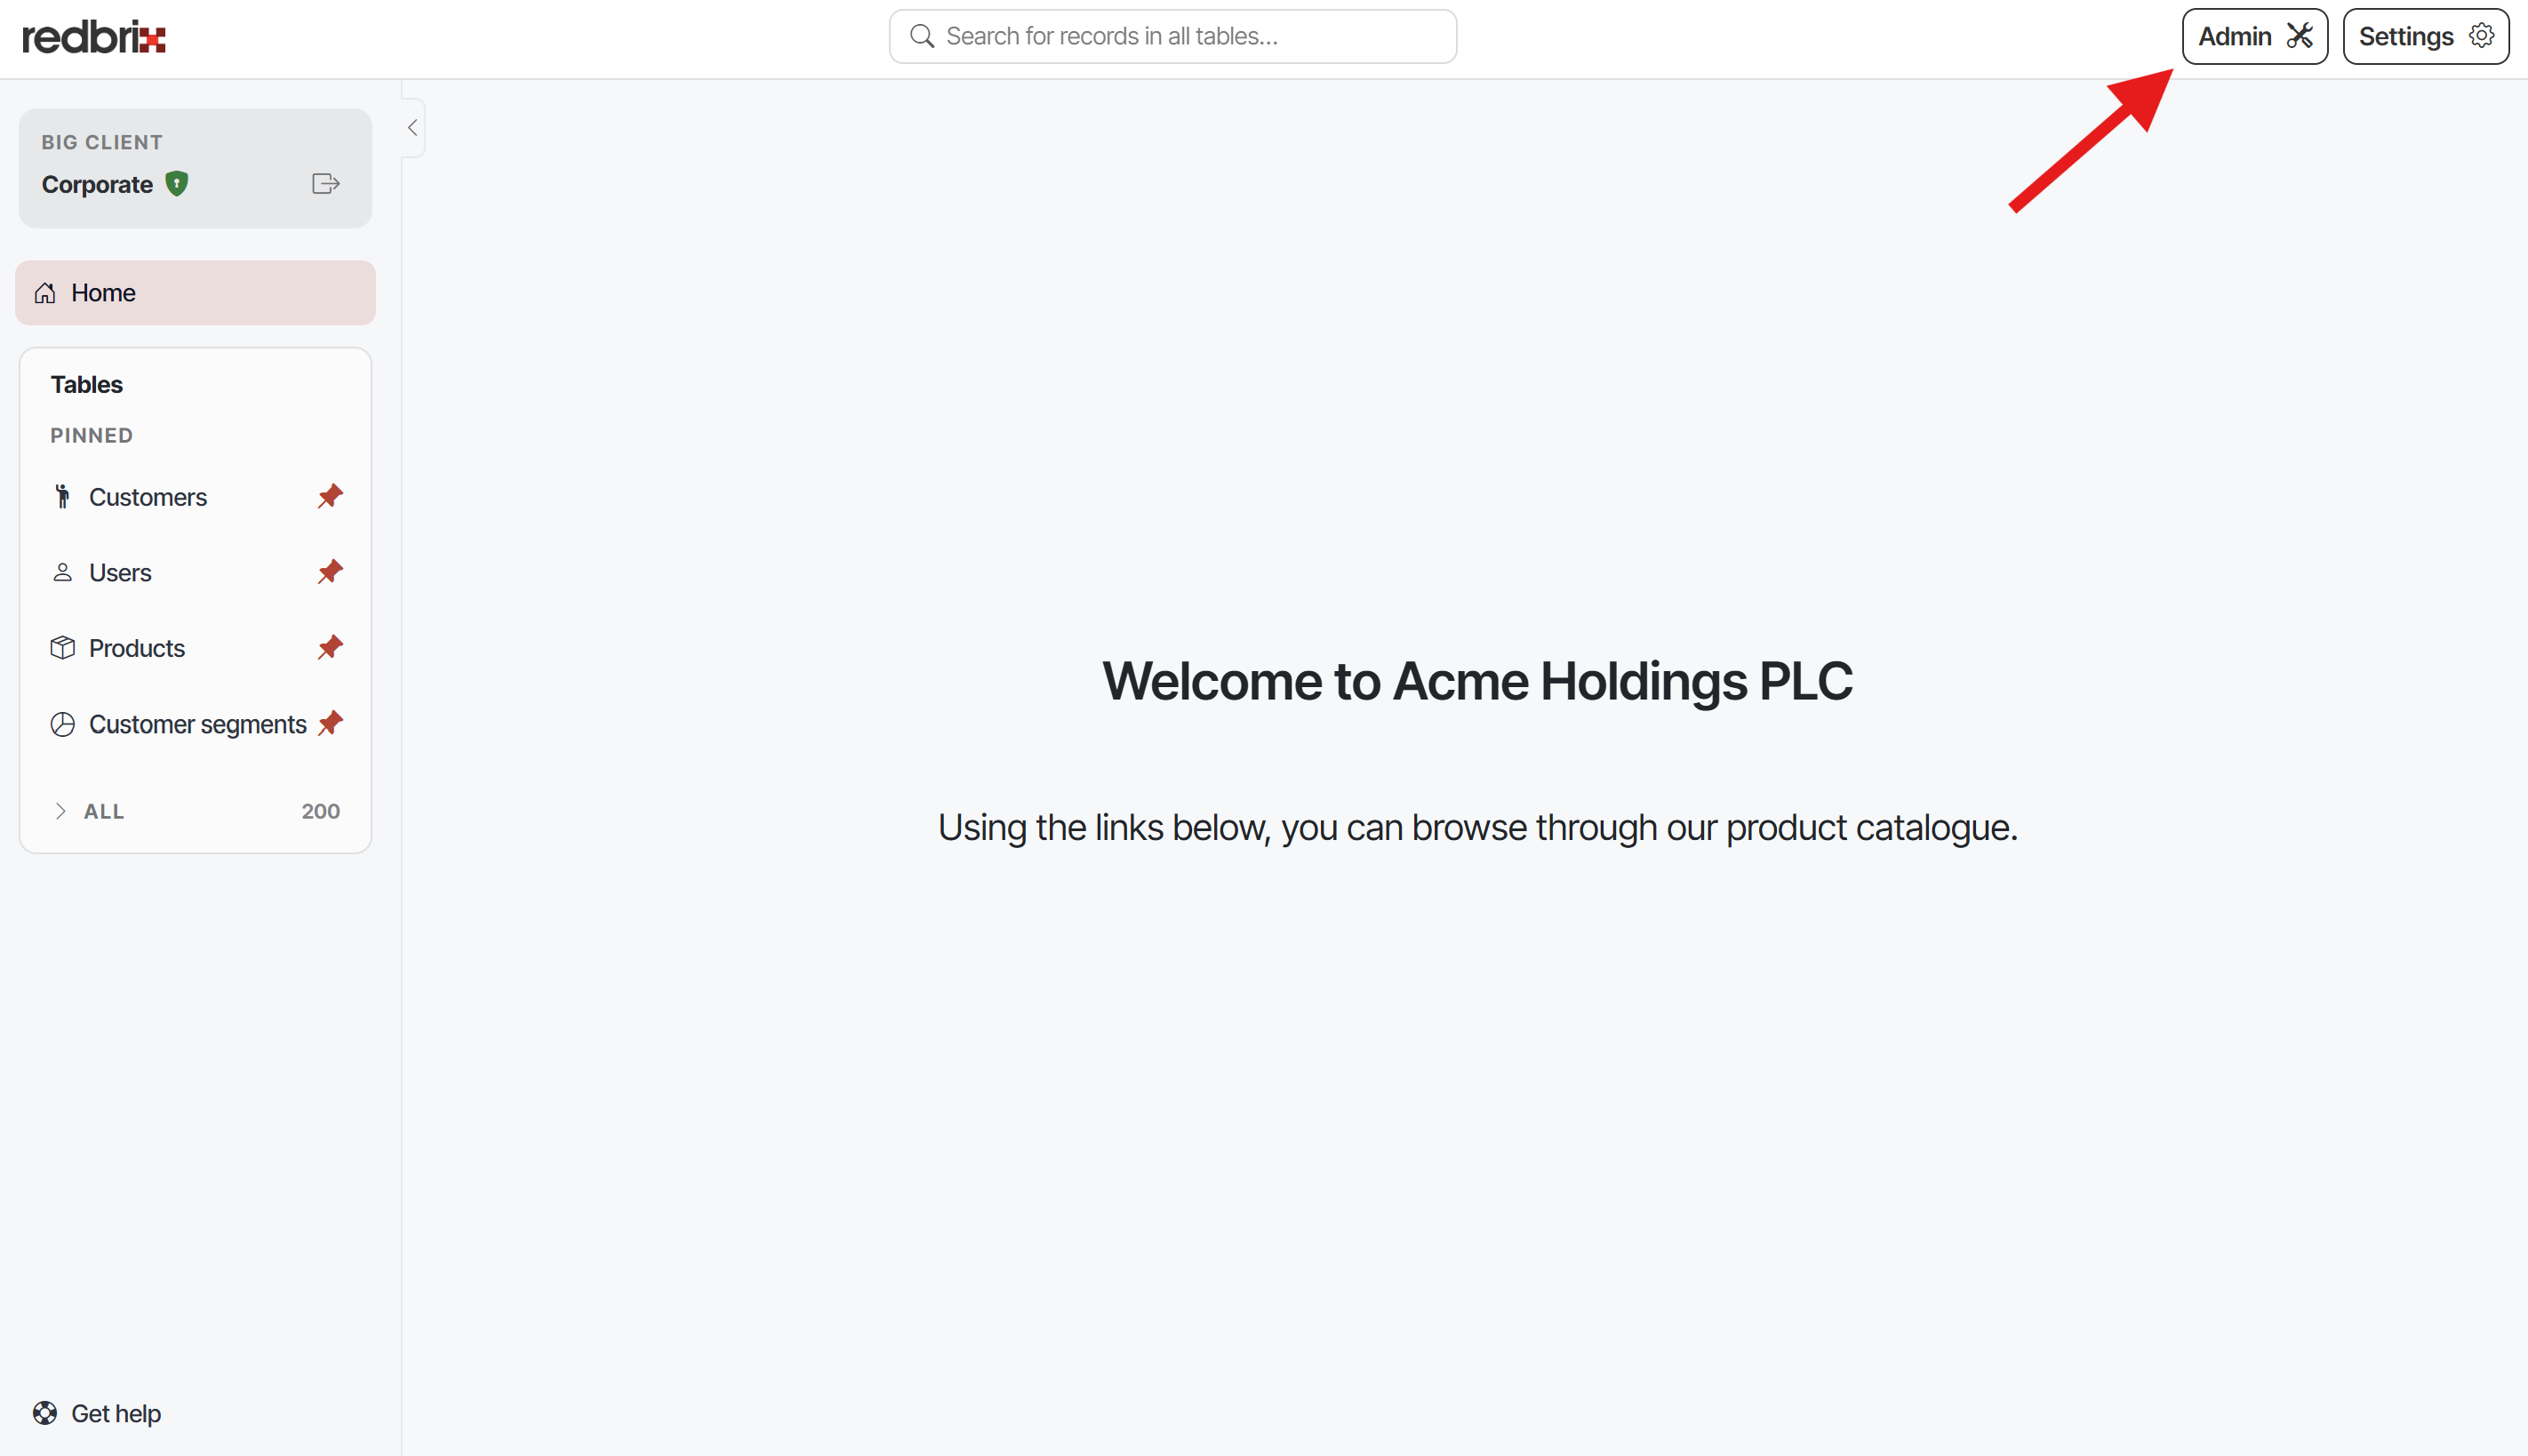
The global admin page allows you to configure settings that affect the entire Redbrix application across all tables in the current database. To invoke it, click the Admin button in the top-right corner of the application when on the Home page.
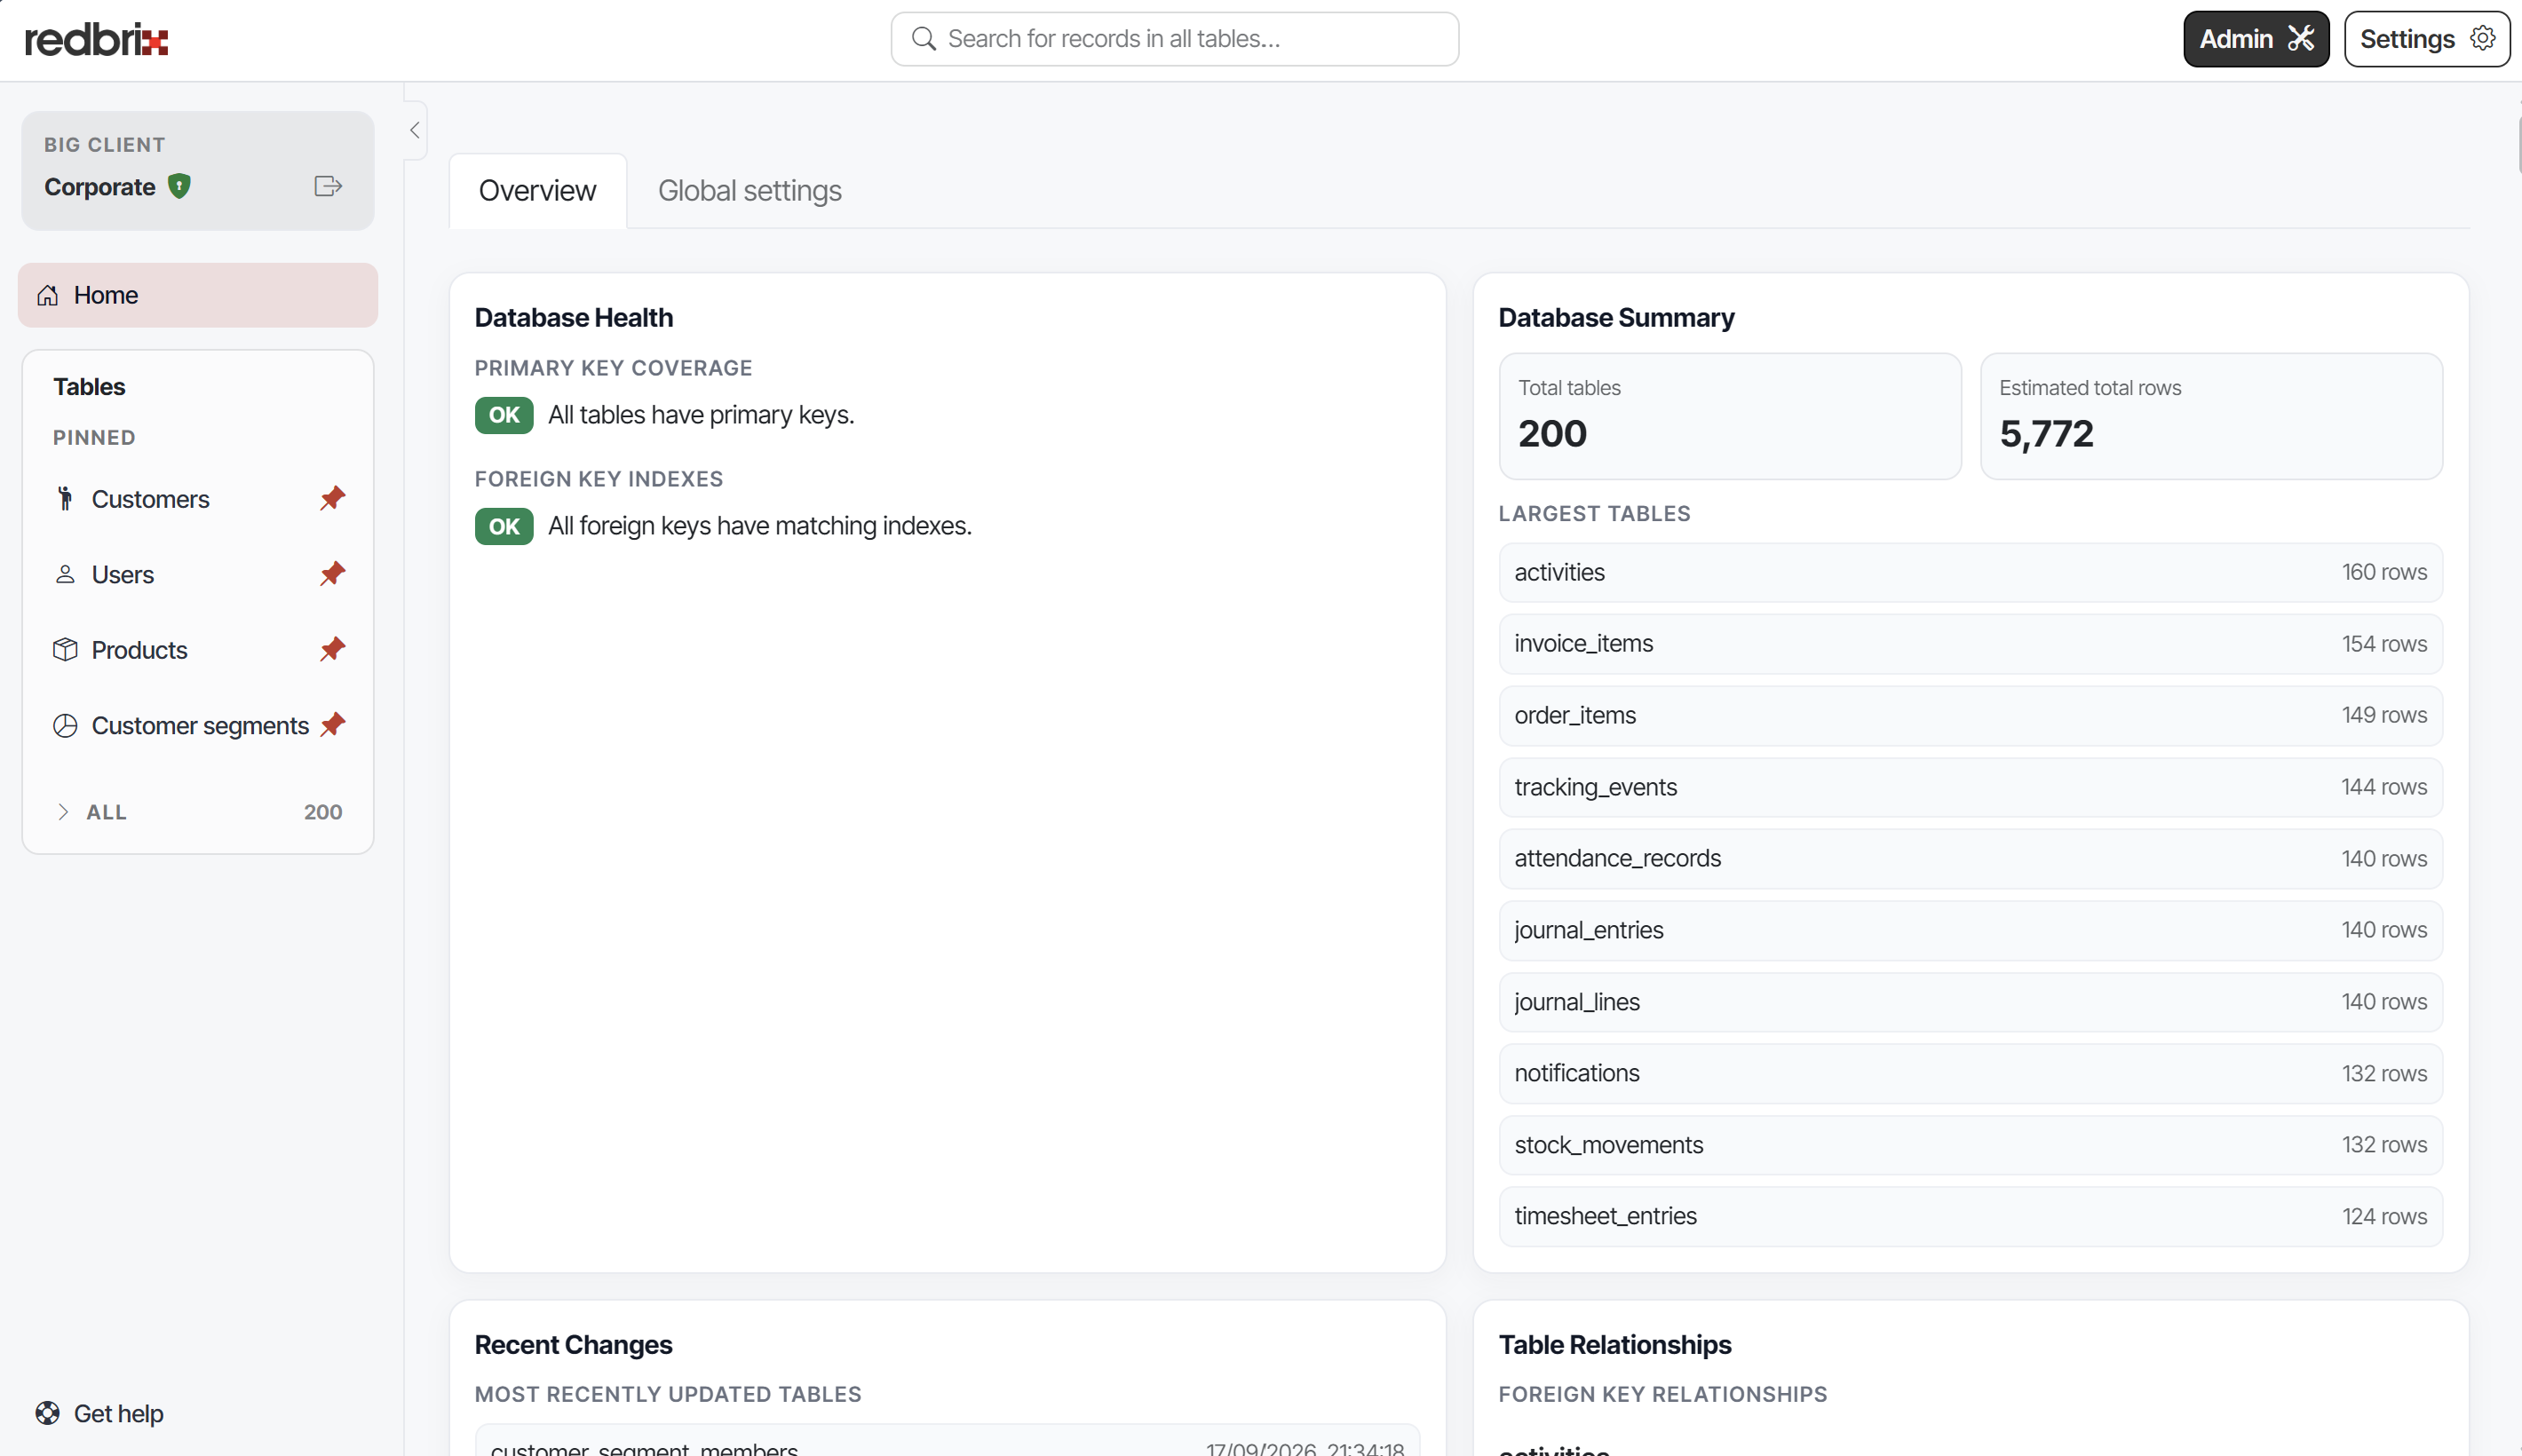
The global admin page has two tabs: Overview and Global settings.
Overview
The overview section displays some important status information about your database.
Database health
Shows information about the structure of your database with respect to primary and foreign keys.
Database summary
Displays recent changes or actions performed within the database, helping you keep track of updates.
Global settings
The global settings section allows you to configure application-wide settings that impact all tables and users. These comprise the following:
Welcome headline and text
The message your users see when they log into the application. By default, it displays "Welcome to the (database name) database" but you can override this with a custom message.
Allow editing values directly in tables
When this is enabled, users can edit cell values directly in the table without invoking the "edit" form on the individual record. This is achieved by clicking the padlock icon at the top of the table, which will unlock the table for direct editing of its cells.
Tables in the menu
This determines which tables are displayed in the application's left-hand navigation menu and also allows a custom icon to be set for each table.
⚠Note that this doesn't restrict access to the table otherwise -- users will still see records in hidden tables if they are appear in linked record sets on other tables. To restrict access to a table, you need to set the GRANT permissions on the database user used for the connection or configure the permissions of the role associated with the user to restrict access to the table (Team plan required).
Table admin page
You can customize certain display elements for each table on its admin page, specifically:
- Column labels: You can set custom labels for each column in the table, which will be shown in the UI instead of the raw column names from the database.
- Title field: You can define a title field for the table, which is used to represent records in relationship views and other places where a human-readable identifier is needed.
⚠Note that these features are purely for display purposes and do not affect the underlying database in any way.
These settings are stored as metadata in the Redbrix application and will not be reflected using any other method of accessing your database, such as a direct SQL query using the MySQL shell or any other application that accesses the data.
To access the admin page for a table, click on the "Admin" button in the top right corner of the page.
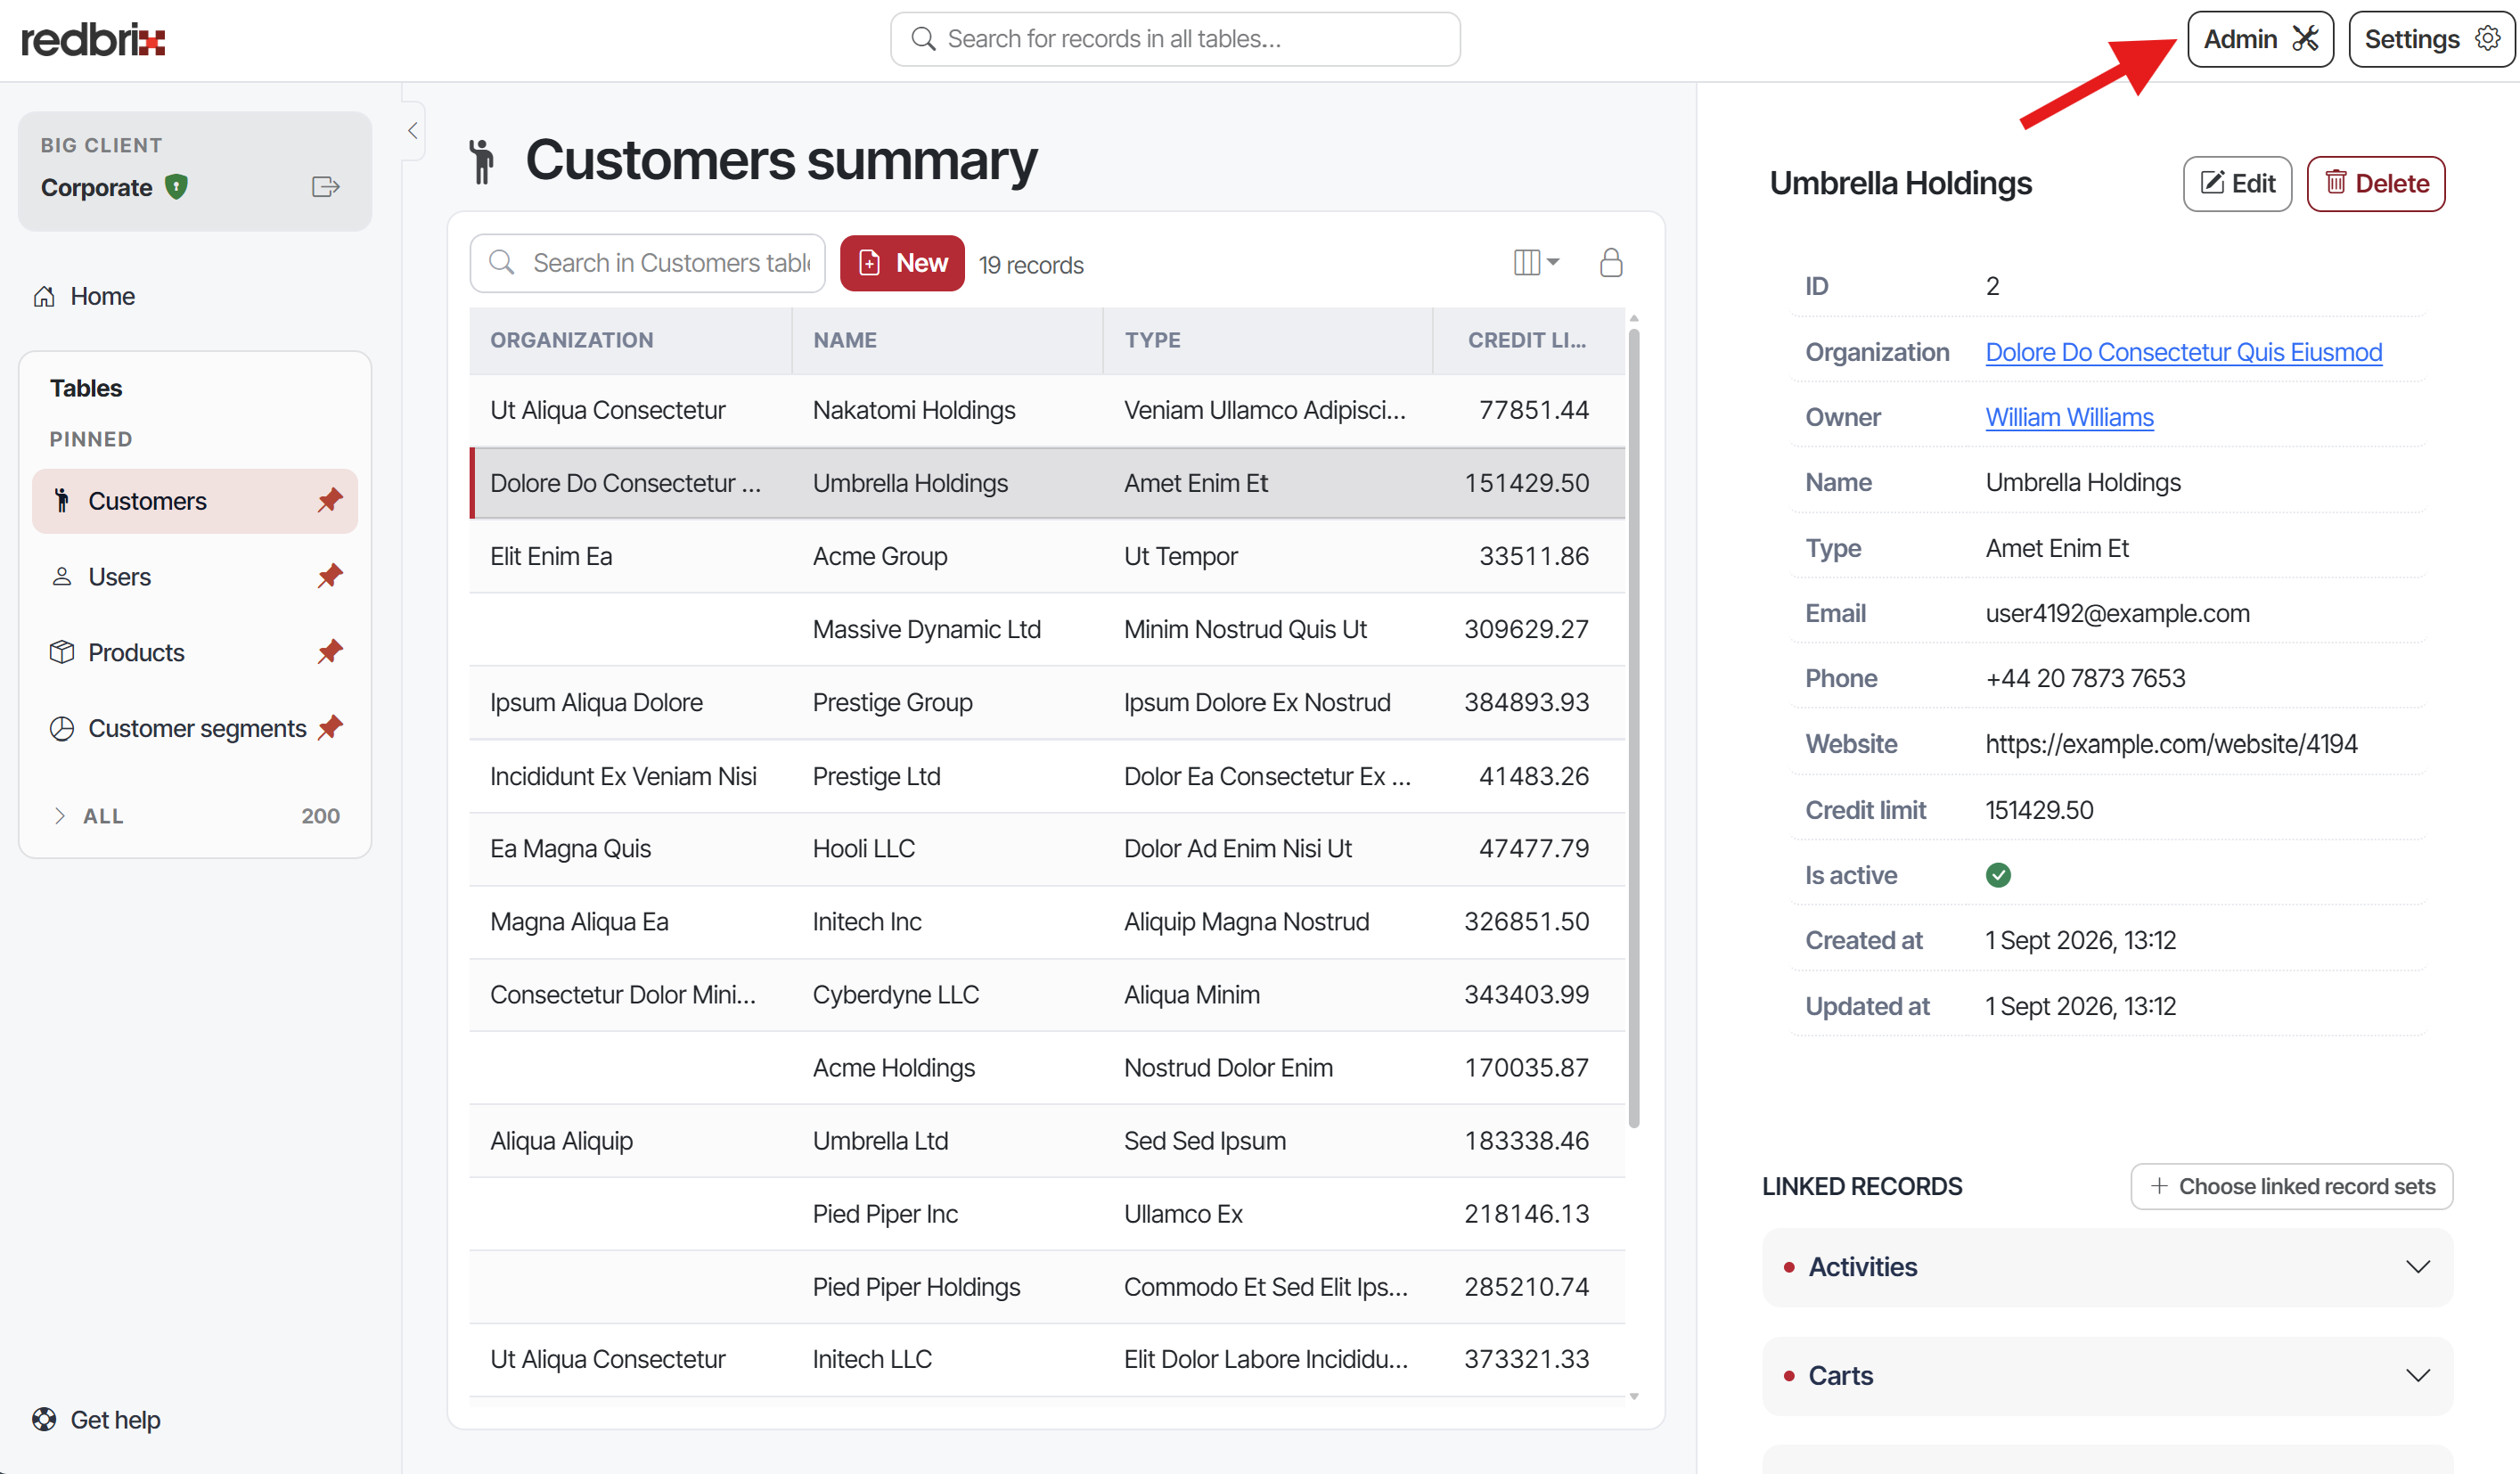
This will take you to the admin page for the table, where you can set custom column labels and define a title field. Remember to click "Save" after making any changes.
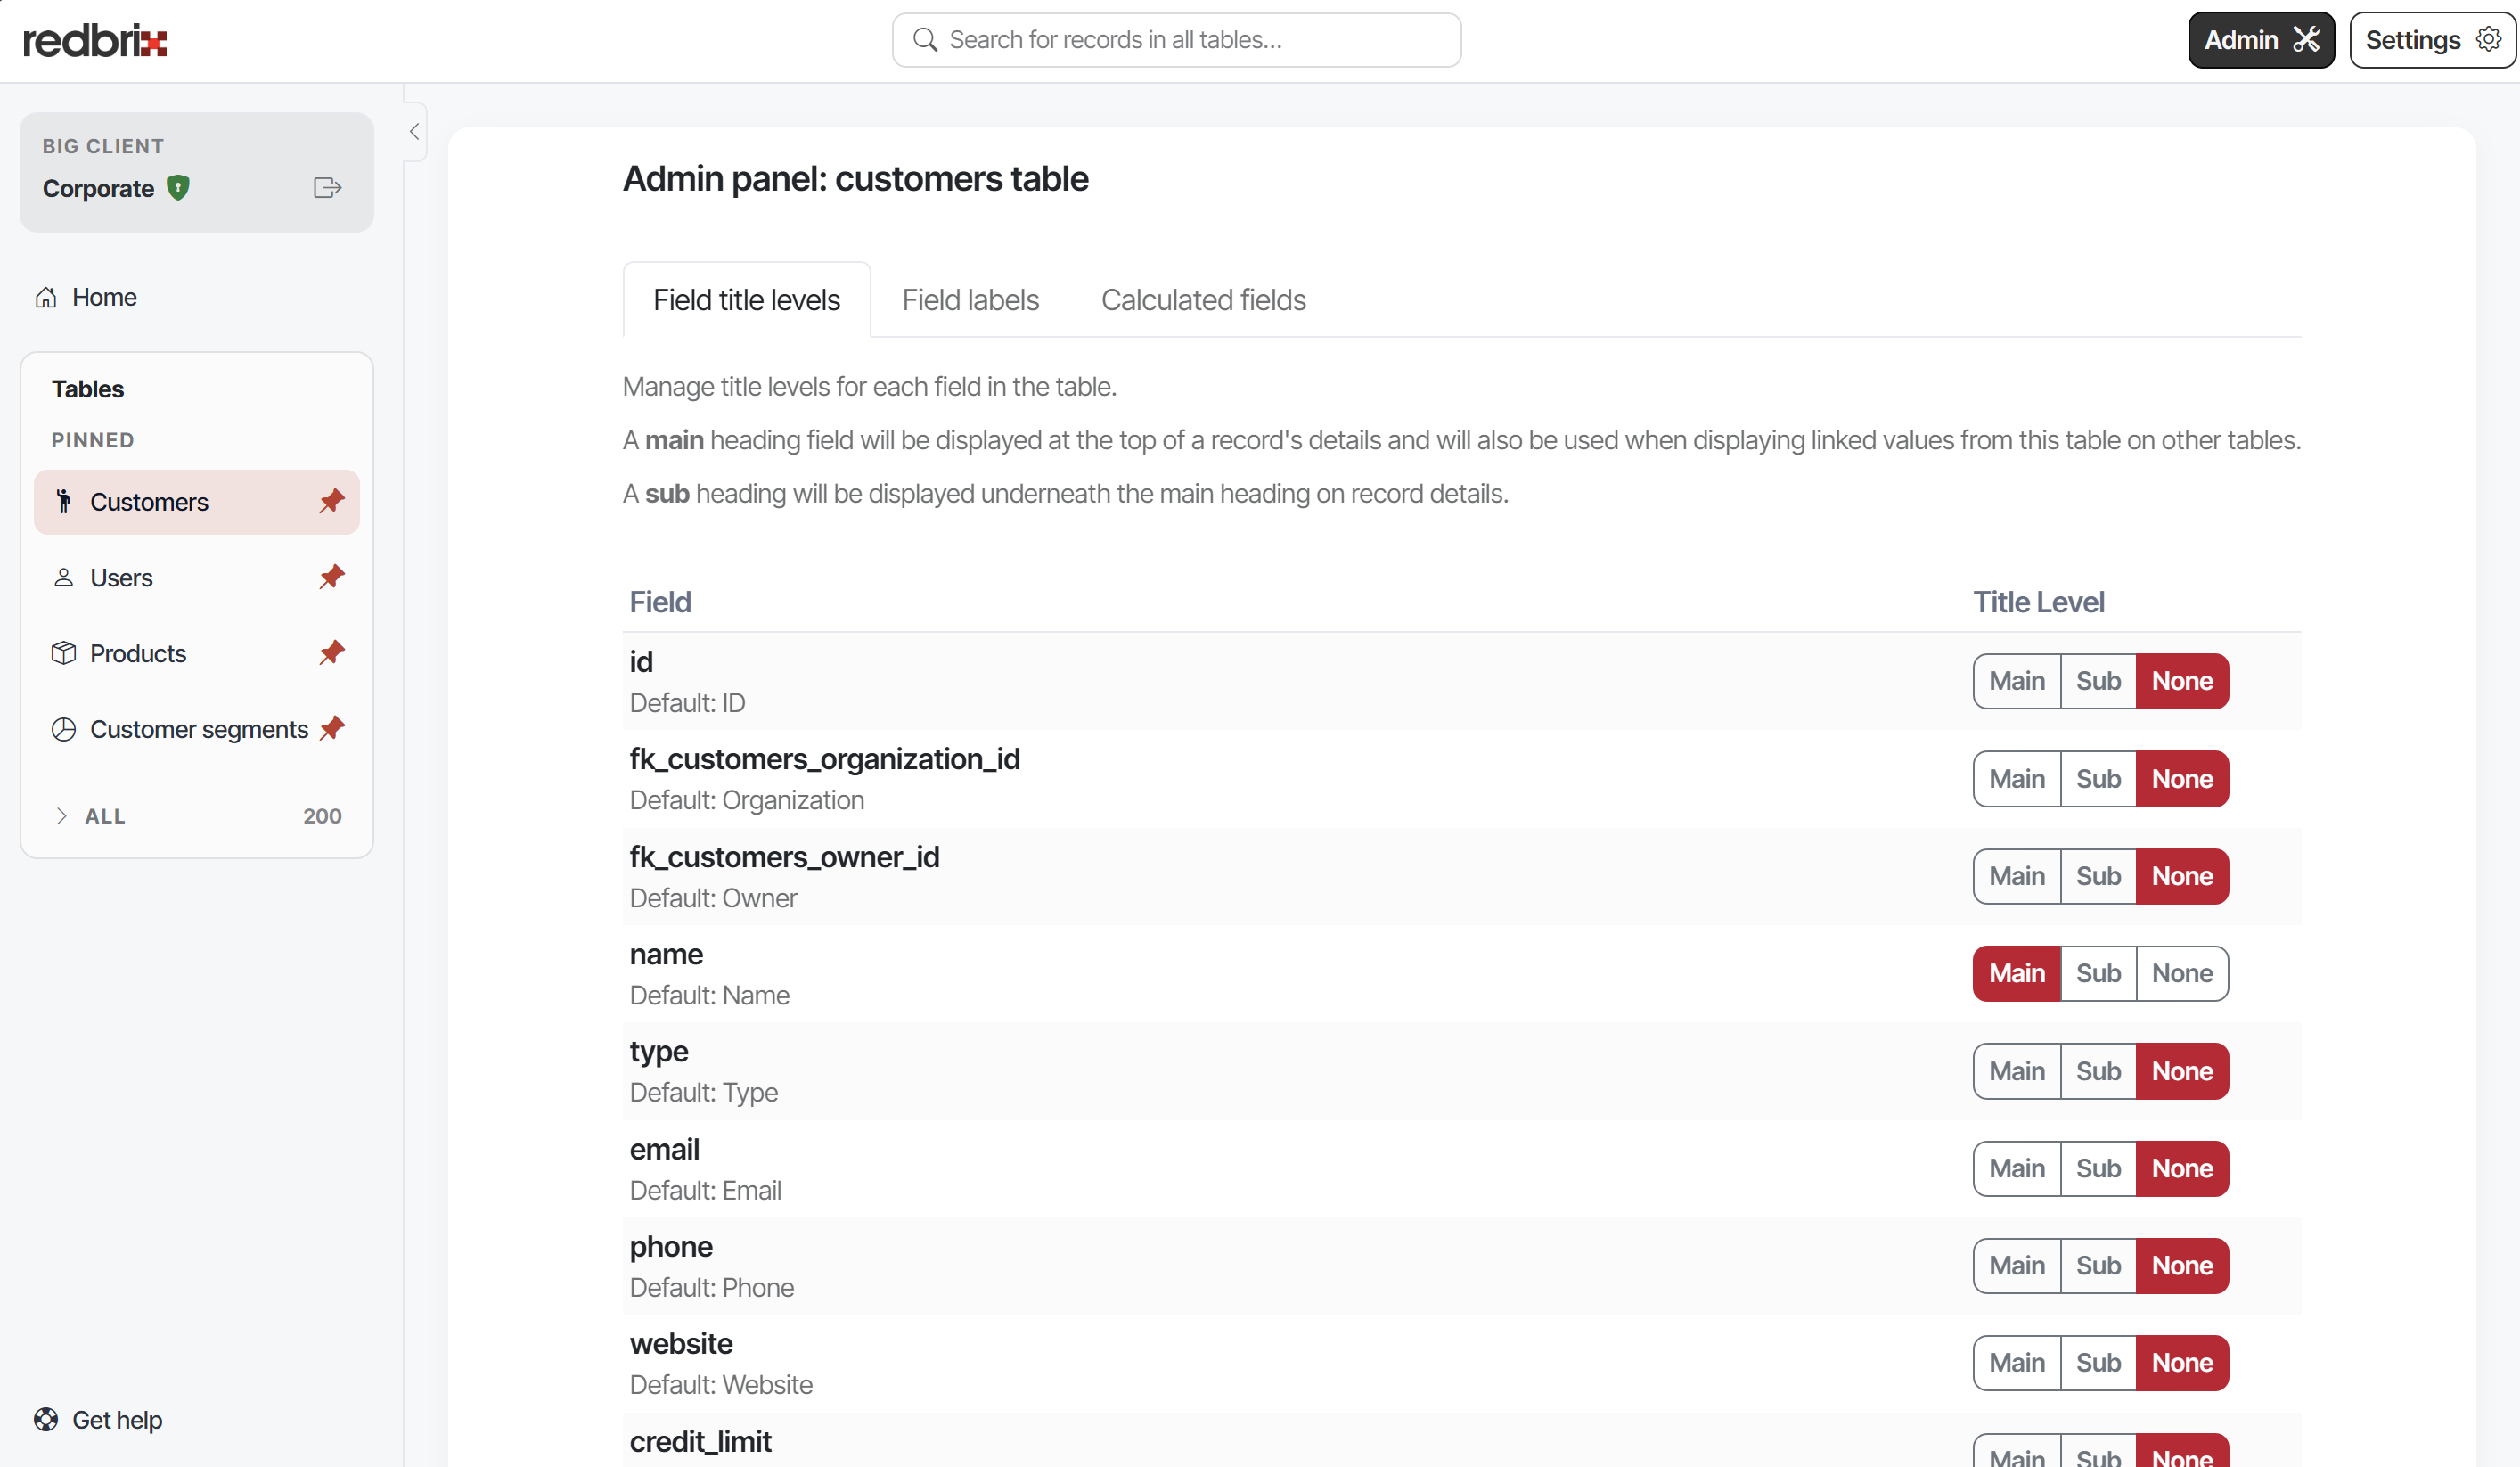
Field title levels
There are three values that are selectable for the title level for each field:
- Main: This will display the field value at the top of a record's details page and will be used when referencing records on this table from other table's views via foreign key fields.
- Sub: This displays the field values as subheadings on the record's details page but does not use the data when displaying values on other tables.
- None: The field is not used as part of the record's title or subtitle. This is the default behaviour.
If no fields are specified for the main title, Redbrix will use a suitable candidate, which will usually be a string field or combination of fields which have unique values.
Field labels
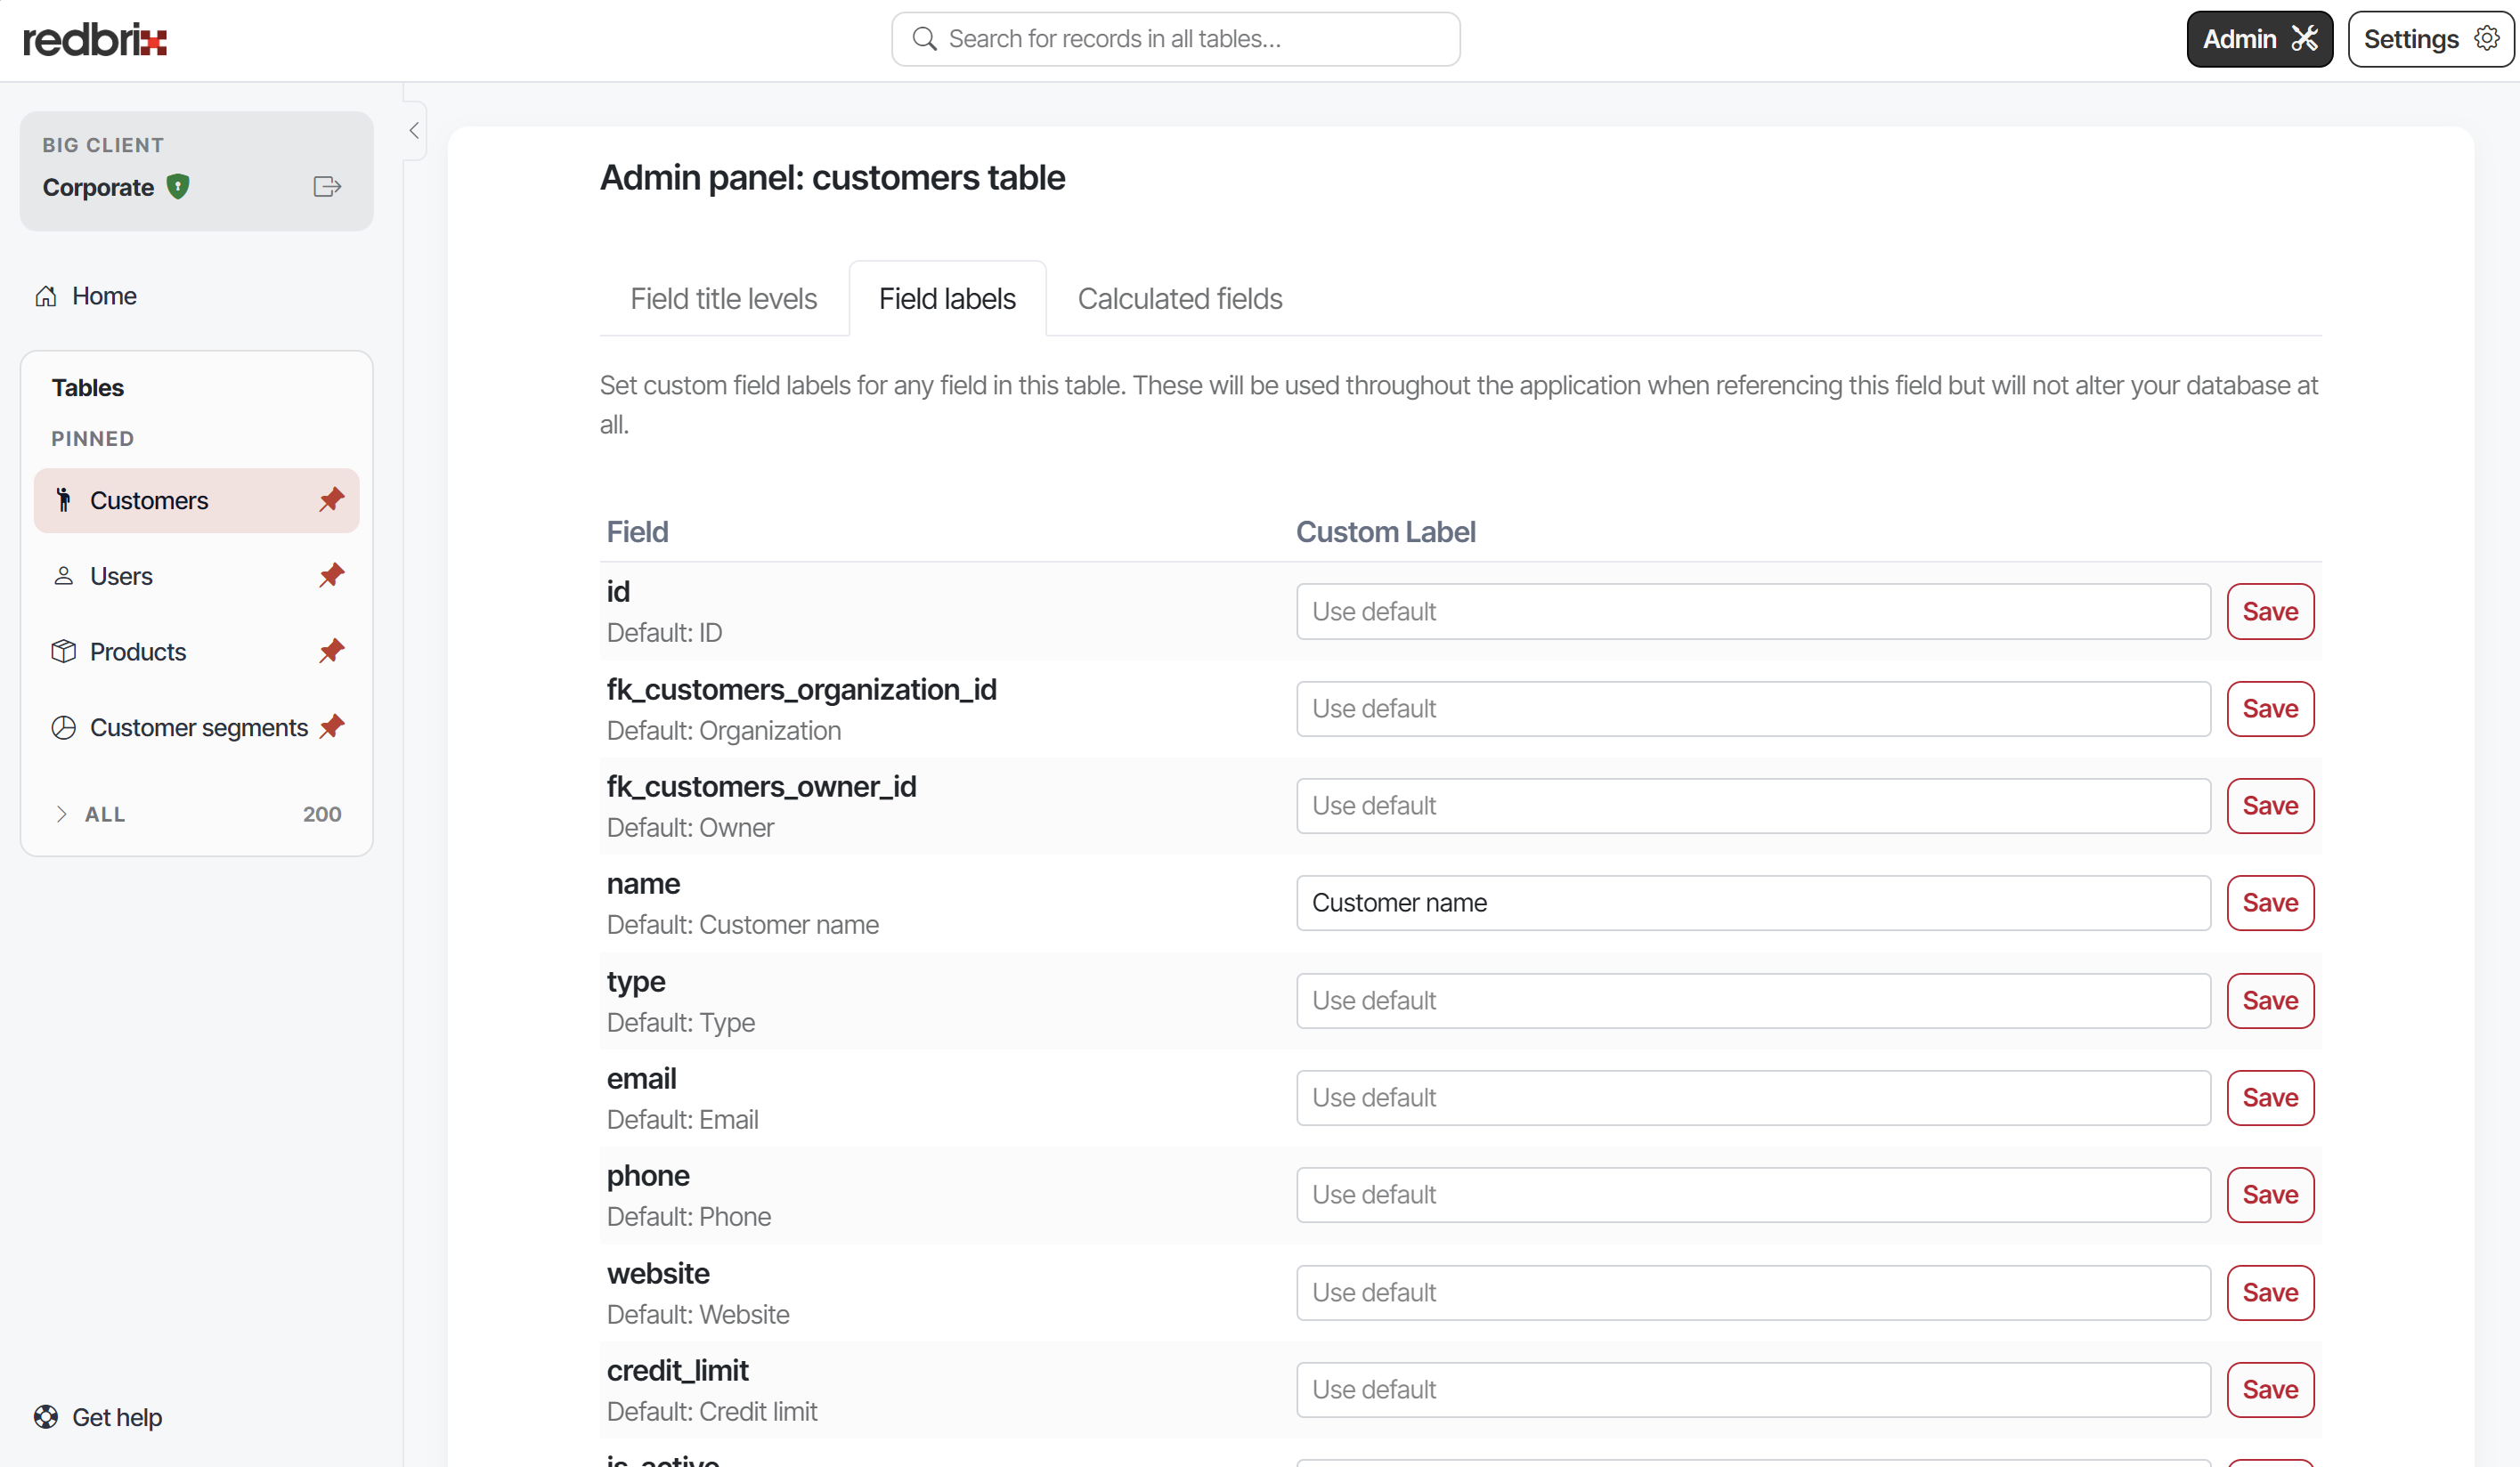
By default, Redbrix creates a slightly more "friendly" version of your raw underlying field names by replacing underscores with spaces and capitalizing the first letter of each word. However, you can set custom labels for each field on the table's admin page using the input fields in the "Custom label" column (see above), which will be shown in the UI instead of the default generated labels.
Again, custom labels are purely for display purposes, are held as metadata in the Redbrix application and do not affect the underlying database schema or data in any way.
Calculated fields
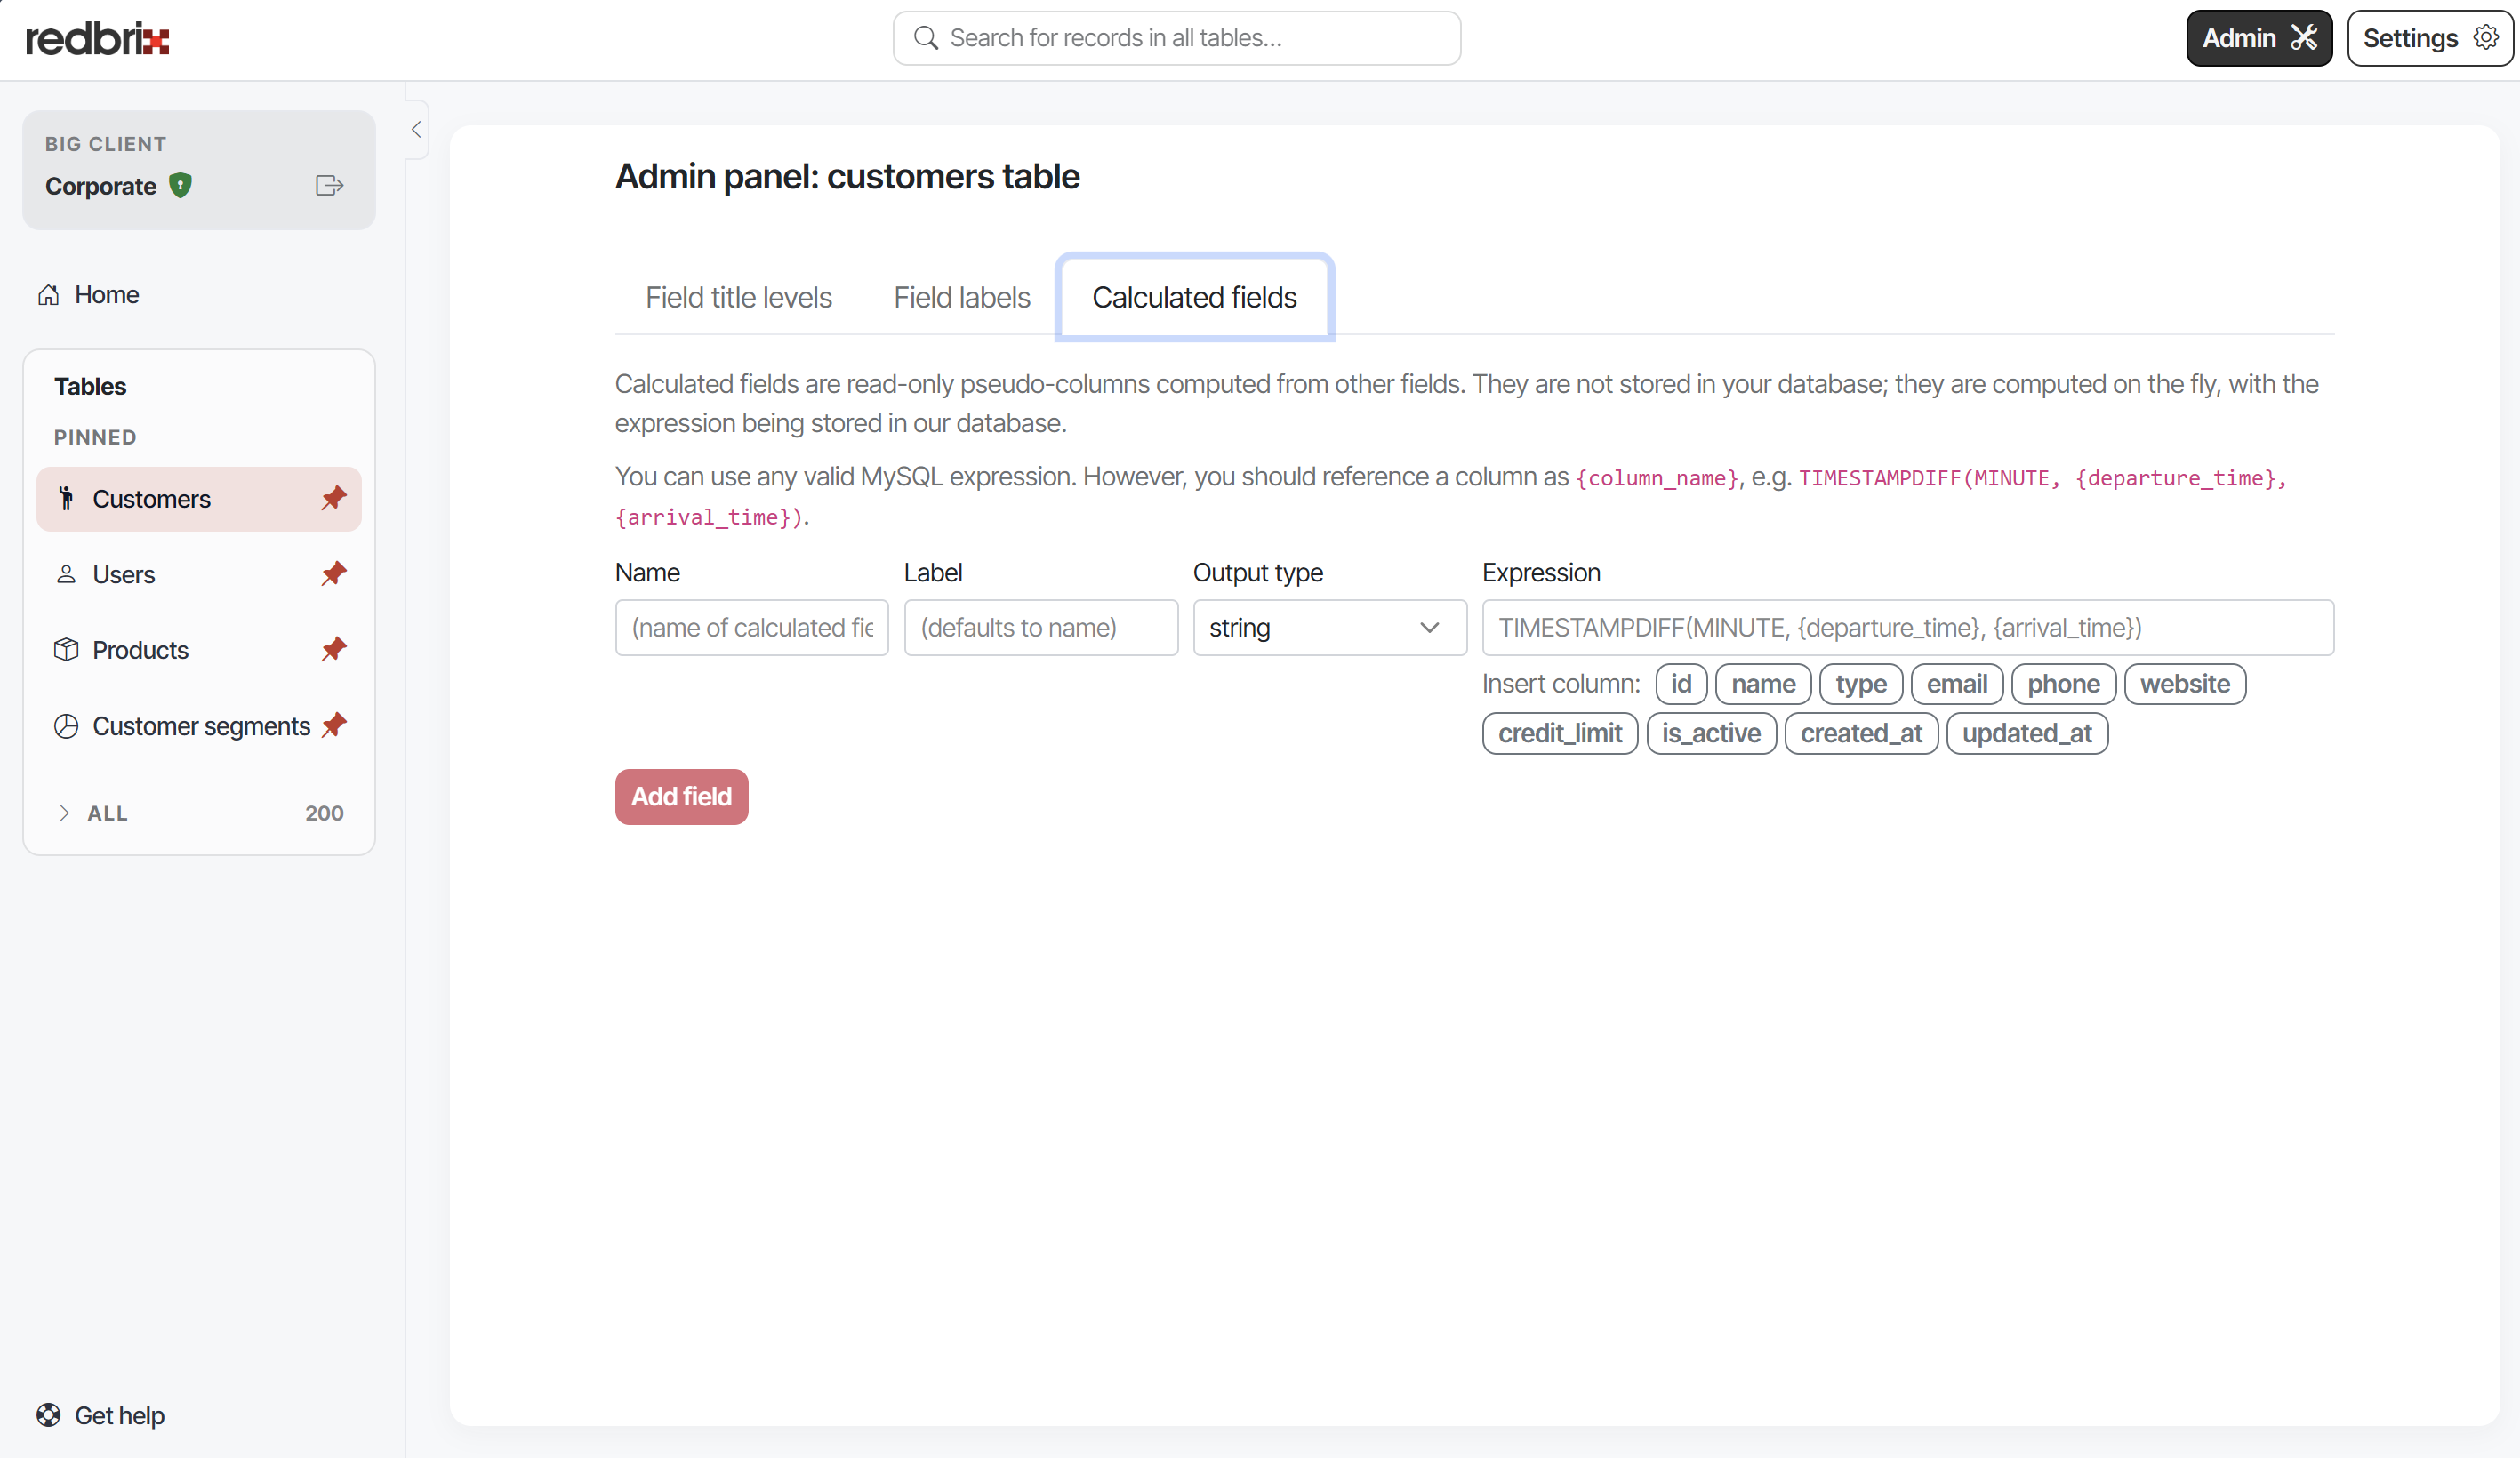
Calculated fields are fields whose values are derived from other fields in the table using a formula or expression. They are useful for displaying computed data without storing it directly in the database.
Once defined, these are viewable for all users of the table and are available as selectable columns in the table view.